How to make paper mache birds
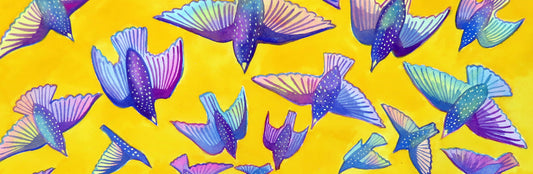
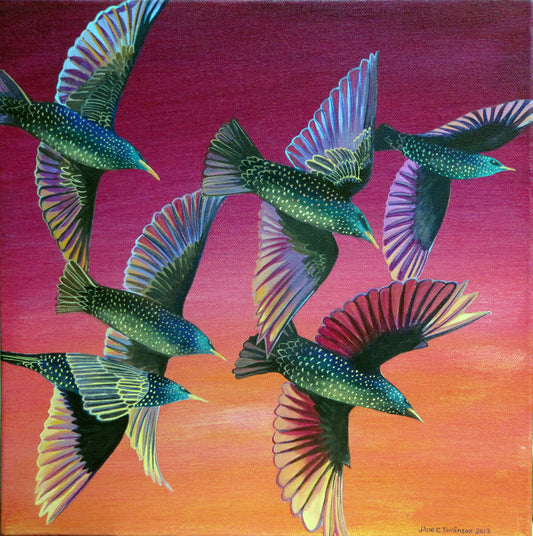
The paper mache birds I make are more ‘folk art’ than ‘fine art’. I make them because it's fun and because I hope they will make others smile. They force me to look at a lot of pictures of birds to carefully observe their anatomy and characteristics.
People have asked me how I make them. There’s no precise recipe, I’m afraid, but this is roughly how I do it.

How to make paper mache birds
What I use:
- a space on a table in a room I don’t mind getting very messy indeed
- inspiration!
- scissors
- pliers
- garden wire
- a cutting mat
- sharp craft knife and/or scalpel or stanley blades
- PVA glue and/or ModPodge
- old brushes for glueing
- masking tape (the best you can afford)
- varnish
- polystyrene packaging – the thicker and chunkier the better, for example the sort of moulded polystyrene that TVs or PCs come wrapped in
- plastic bottles of all kinds! Raid the bin for old milk bottles and anything with a smooth curve on it.
- cardboard of all kinds! Raid the recycling bin for corrugated card, cereal packets, thicker board, toilet roll middles, whatever!
- paper – nothing fancy needed, old envelopes are surprisingly good
- any other interesting junk!
Getting starting
The first thing I do is look at as many photos on Google images of the bird I’m creating. Observing the anatomy closely to get the shape and ‘feel’ of it in my head, I look for definitive characteristics which can be emphasised in the model.
Making the head and body
There are million different ways of doing this. Some people might use chicken wire to construct the underlying form, or scrunched up balls of newspaper taped up. Whatever you use doesn’t really matter, this is junk modelling and there are no rules.
I use favour chunks of polystyrene which I sculpt with a stanley knife, craft knife or scalpel to which I can affix cardboard and paper. These bits are lashed together with loads of masking tape and glue. I use a craft knife to slice off and whittle bits to get the profile and shape of the bird correct. This takes time.
I’m not afraid to make savage cuts to get the shape right, because I can always stick bits back on if I go too mad. The curves to the head to neck, and how the head slopes down to the breast are crucial to the birds character. Once I’m happy with the shape I begin covering it with a couple of layers of gluey paper strips. It’s very VERY sticky!
Tails, feet, beaks and wings
I cut a tail and stick it on to the bird shape with lashings of tape and glue. Often I add details to the tail – extra feathers, for example.
Now for the beak. Mount board and masking tape is good for this. Getting the shape, length and angle of curve right is harder than you think! I usually stick it on with masking tape which is very forgiving as it allows you to try it at different angles and it different positions on the head until you find the ‘right’ place. Then I attach it in its permanent position with more gluey paper strips.
Feet and legs
Using a single length of garden wire, I twist and twist with pliers to create four toes and a long leg. This takes some practice! I’m pretty swift at it now, but there were many failures along the way. I tend to make the toes much longer than they are in real life because it helps to get the balance right when you come to getting the bird to actually stand up. I gently manipulate three of the toes to point forwards and one backwards.
Attaching the legs is tricky. I have to find both the right place to stick them into the body, AND get the angle right. I make a hole in the bird’s body, I use a long thin kitchen knife and pour PVA in the hole, then stick the legs in. I often have to buttress the angle of the legs with strips of card so they dry firmly without flopping around, and hold them in position with a bulldog clip while they dry overnight, often held upside-down.
Before the glue is dry, I take care to manipulate the legs into a position where I know the bird will stand up once. There’s no going back on this bit without major surgery!
Cut some wings
Thick but flexible card is good for wings – cereal boxes are really good. I tend to leave them unattached until the final stages, as it makes them easier to paint, and I like to paint lots of detail. Sometimes I build the wings up in different sections, to make them more physiologically accurate (as far as you can when junk modelling) and not least because it’s way more fun!
Get the paints out!
This is the best bit. Colour, at last! Instead of a blank white bird form I can start to breathe life and character into my bird! I use acrylic paint, mixed with a dab of PVA. It’s usually at this stage that the wings go on, stuck on with masses of glue. The wings are secured in place to dry with rubber bands. The whole thing is then allowed to dry for at least 48 hours – often perched on a radiator. The next stage is applying 3 coats of varnish (minimum) built up over days. Essential for long-term durability.
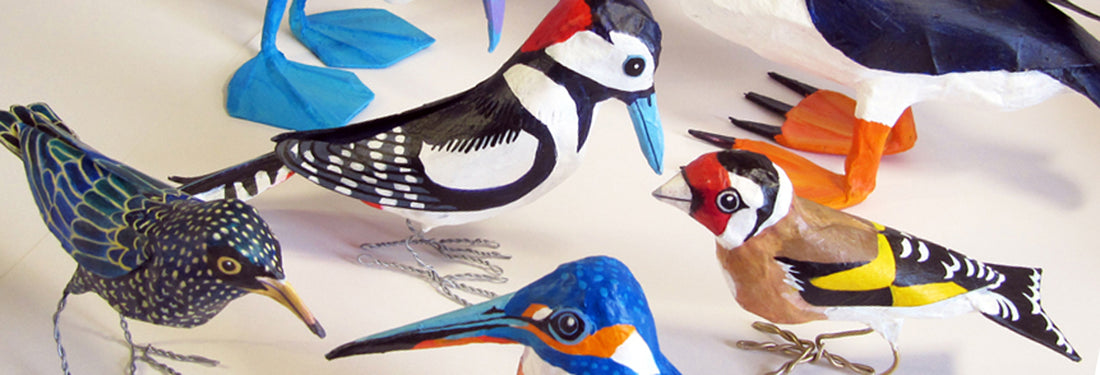
That’s it! Finally the bird is complete!
Species list
My paper mache bird species list is now massive! It includes: golden oriole, waxwing, nuthatch, bee-eater, barn owl, puffins, kingfisher, starling, blue-footed booby, goldfinch, hoopoe, black-necked diver, keel-billed toucan, passenger pigeon, great tit, snowy owl, song thrush, great spotted woodpecker and many more.
Can I make a bird or animal for you?
If you can’t face making a big papery gluey mess, then let me to make a paper mache bird especially for you. They make striking and unique gifts.
Each bird is original and handmade – a signed work of folk art – and created from scratch. So you must allow me a minimum of 4 weeks’ creation time. Depending on size and complexity they cost between £120 to £200, plus P&P (usually about £8). Contact me if you’d like me to make one for you.
Or just have a look at those available today. Here are some I made earlier: